Transform digital images into analog images
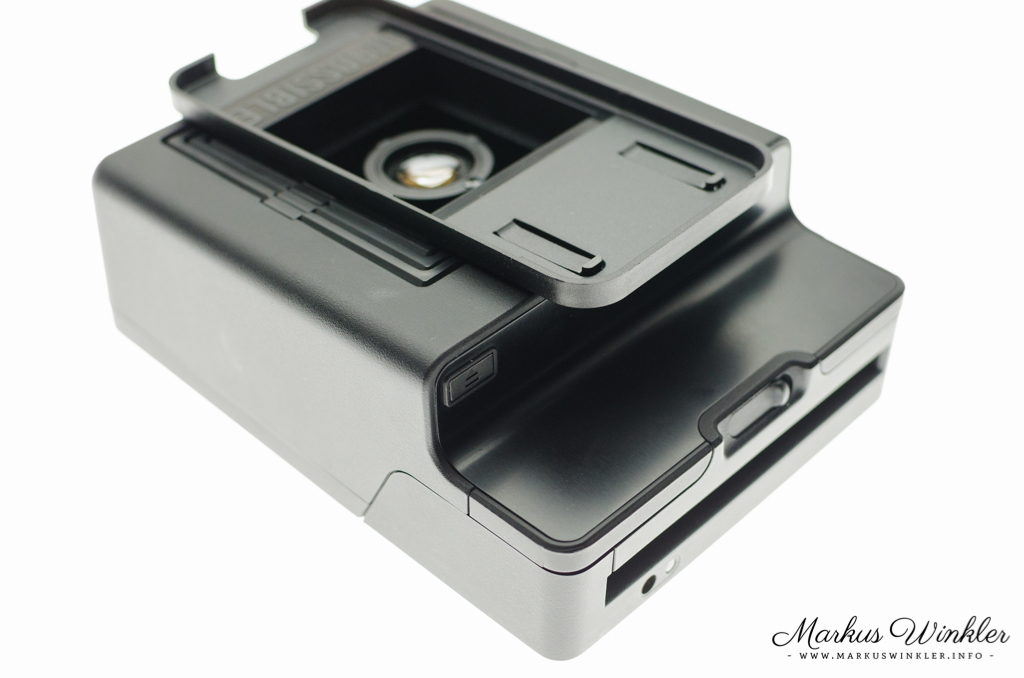
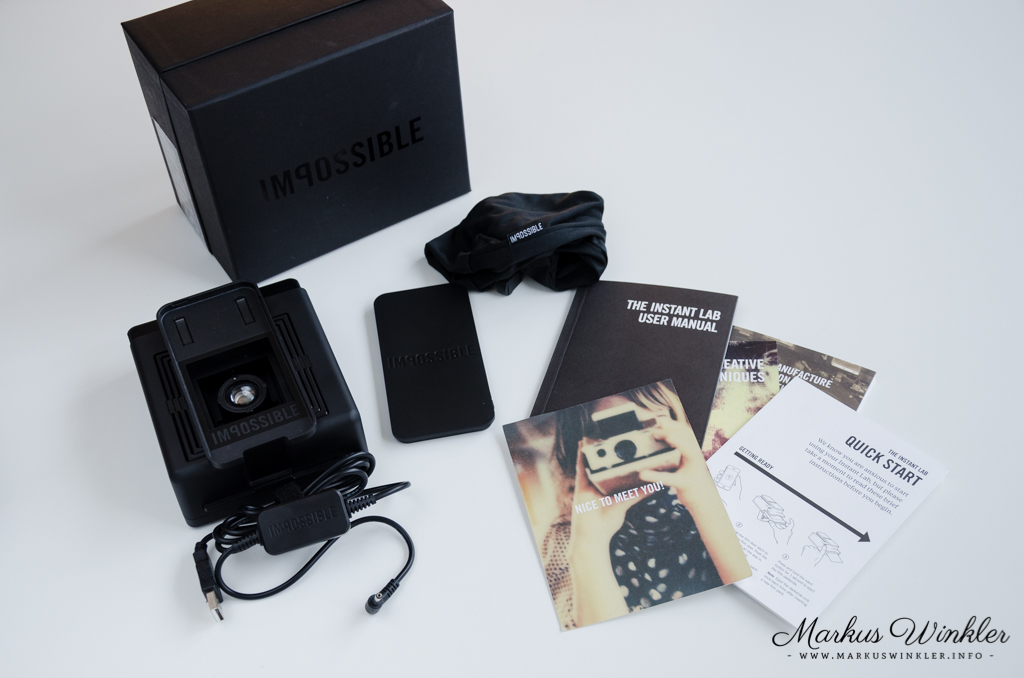
To create an image with the Instant Lab, you must first load a film into the device. The Instant Lab is designed for Impossible films; you can choose between SX-70 (Amazon) and 600 films (Amazon). The package includes a voucher for the first film order at Impossible's online shop.
Specifically for the Instant Lab and future cameras, there is Color Film for Impossible Hardware and B&W Film for Impossible Hardware. The special feature is the lack of a battery in the film cassette and the resulting lower price.
And that brings us to the power supply, which differs greatly from the old Polaroid cameras. The FPU (Film Processing Unit), the lower part responsible for developing the image, has its own rechargeable battery. It is charged via USB cable from a computer, or with a suitable adapter* from a wall outlet. According to Impossible, 150 exposures (i.e., images) are possible per charge. The battery is, as far as I can tell, built-in, which I always find somewhat critical.
A counter for the remaining images is unfortunately also missing, which is a bit of a shame. In addition to the Instant Lab, you also need an iPhone or iPod Touch. The iPhone 4, 4S, 5, and 5S, and the iPod Touch 4th generation and 5th generation are supported. The device should be bare; it won't work with a case or cover.
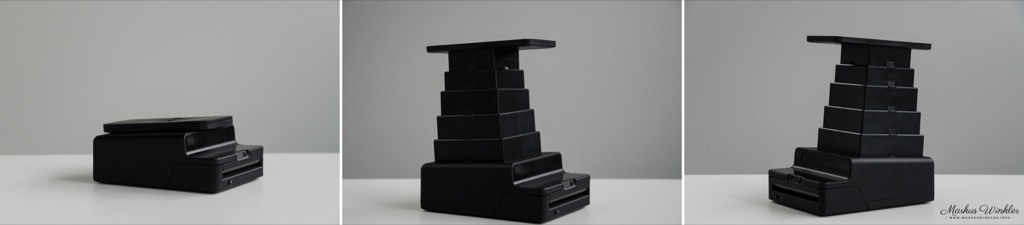
Now you pull out the tower to get enough distance to the film. Make sure it is fully extended, otherwise you will get a black stripe on the image like I did.
In the appropriate app, you select the desired image (it doesn't have to be taken with the iPhone), crop it, and adjust contrast, exposure, and color. Then you select the film type that is in the Instant Lab; this affects the exposure time, i.e., how long the image hits the film.
Now place the Apple device into the Instant Lab's holder, a signal sounds, and you pull the metal plate out of the device, which otherwise protects the film from light. After another signal, it is pushed back in, and by pressing a button, the image is ejected. A black plastic sheet (frog tongue) protects the film from light, which is especially important for the old Impossible films. After the respective development time, you have your finished image in hand.
The entire process is really well guided. We have put together a guide for the Instant Lab in detail anyway. But instructions and additional information material are also included in the package.
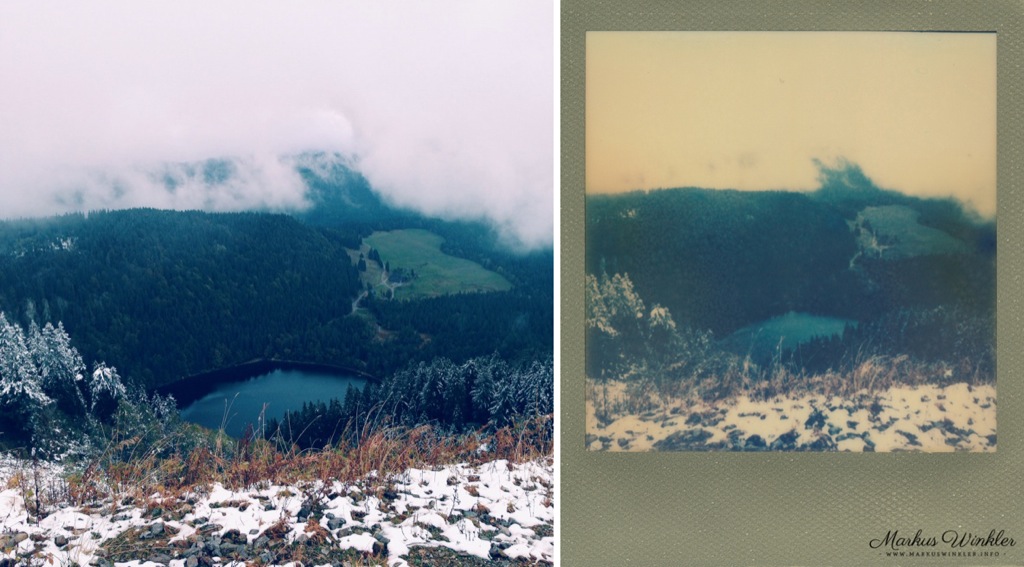
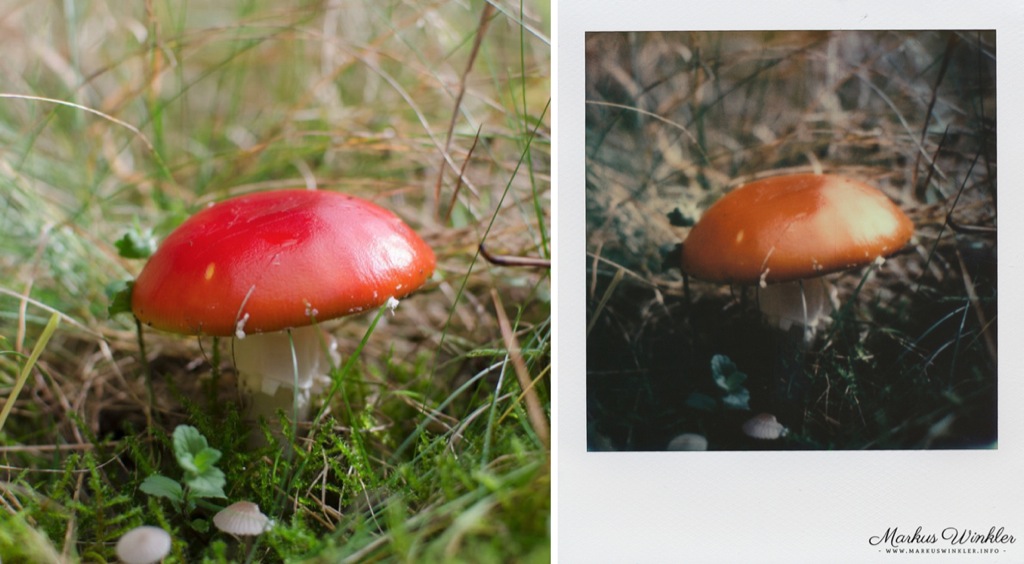
Conclusion
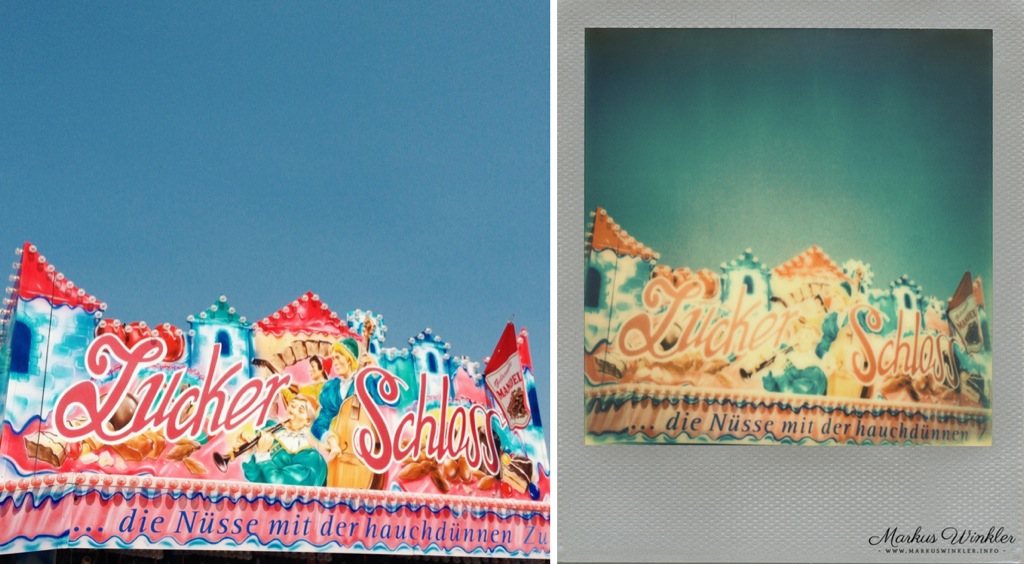
The Impossible Instant Lab is a lot of fun! The device is high-quality, well thought out, the interaction with the app works wonderfully, and the images are great.
Nevertheless, I wouldn't recommend it unconditionally to everyone. This is not due to the implementation, but to the idea behind it. Someone who likes instant photography, values the uniqueness aspect, and enjoys using an instant camera might not necessarily be happy with the Instant Lab. I consider it rather unsuitable as a replacement for a mobile photo printer.
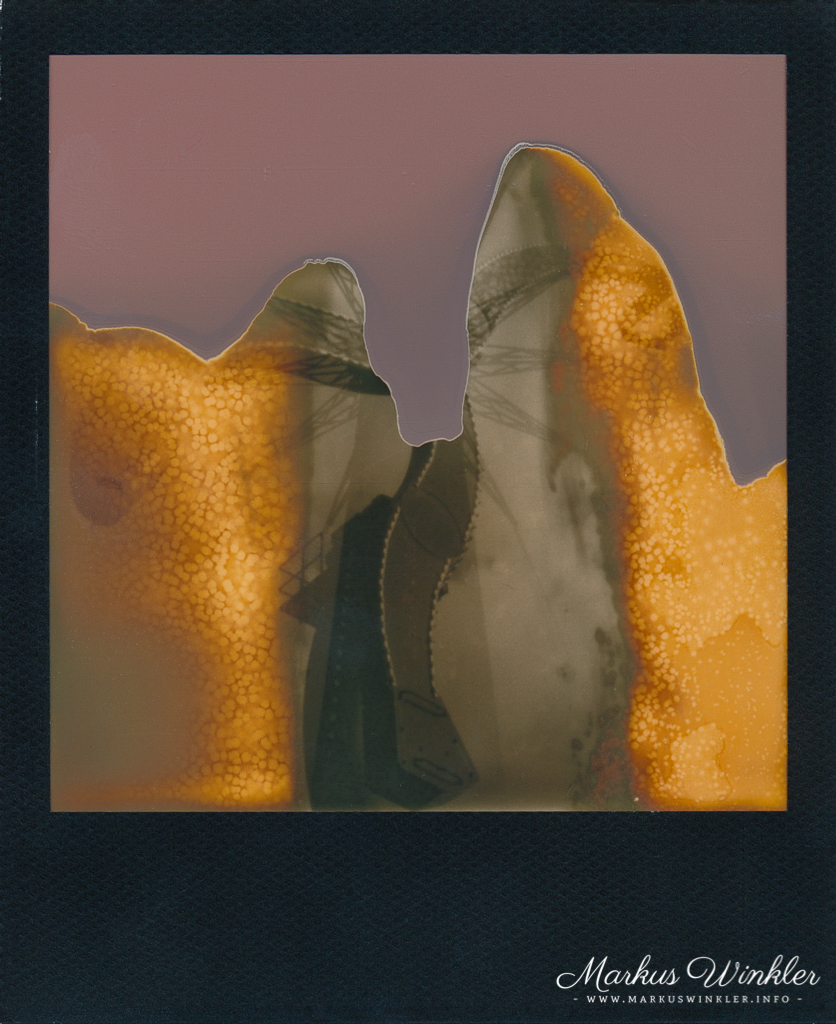
If you like to creatively process your instant photos further, e.g., keyword "emulsion lift," this is a practical addition. For example, you can simply repeat the whole thing if there's a mistake. Or if you need an image multiple times, e.g., for great Christmas cards or wedding invitations, then the Instant Lab is a great option. You will surely find many more uses for the device.
The Instant Lab is simply a completely different approach to the medium of instant film than with a camera. In conclusion, I can only say that you either get excited about the Instant Lab* or not; it just depends. After this test, I am certainly very curious about the first real Impossible camera.
*Amazon link