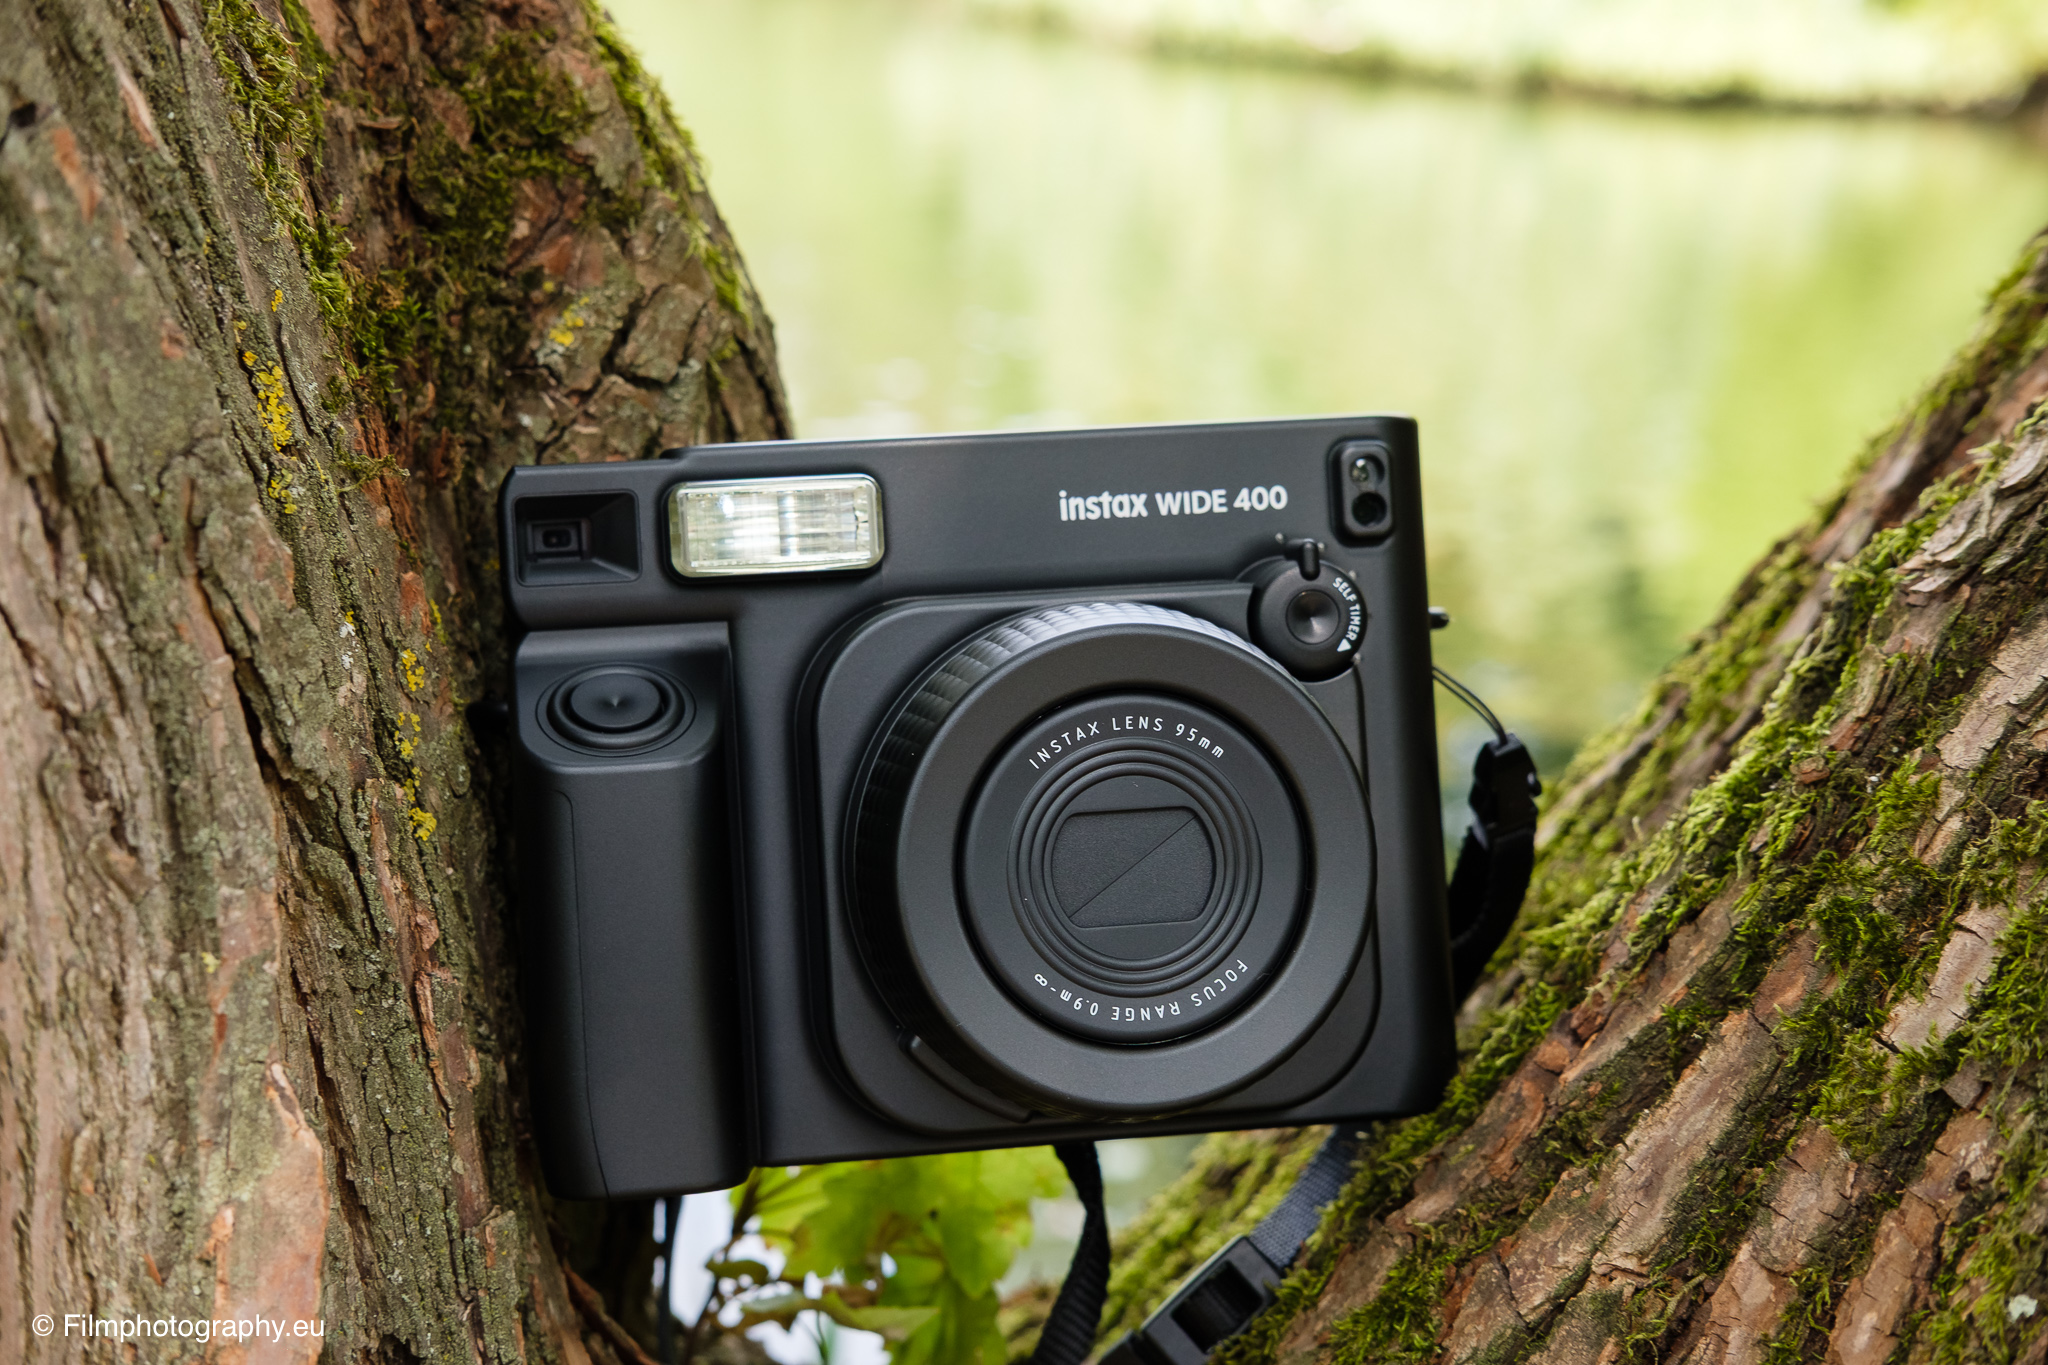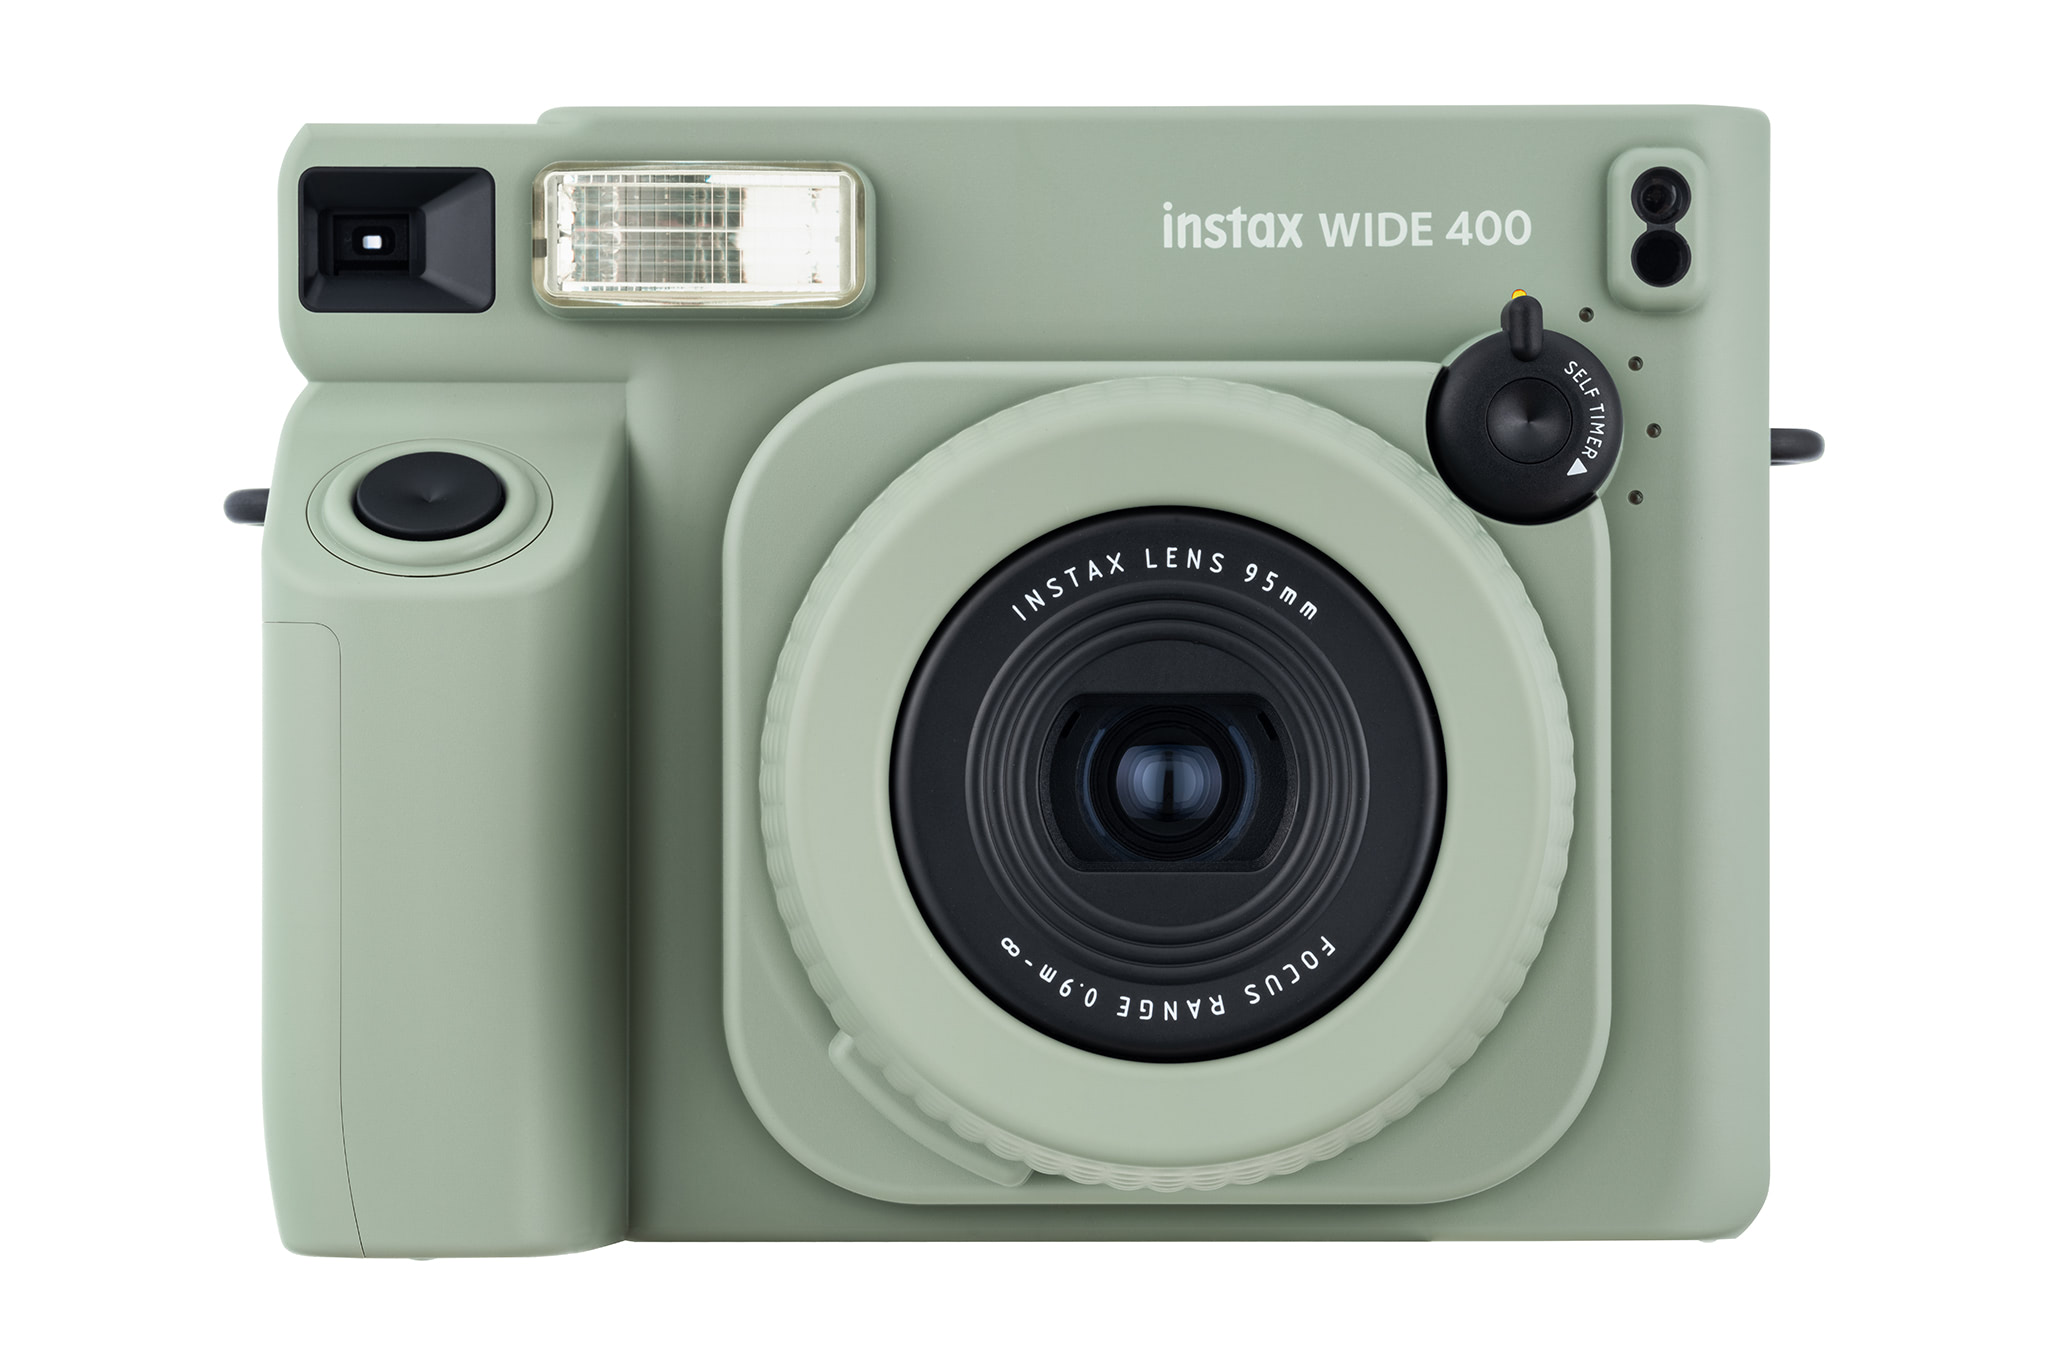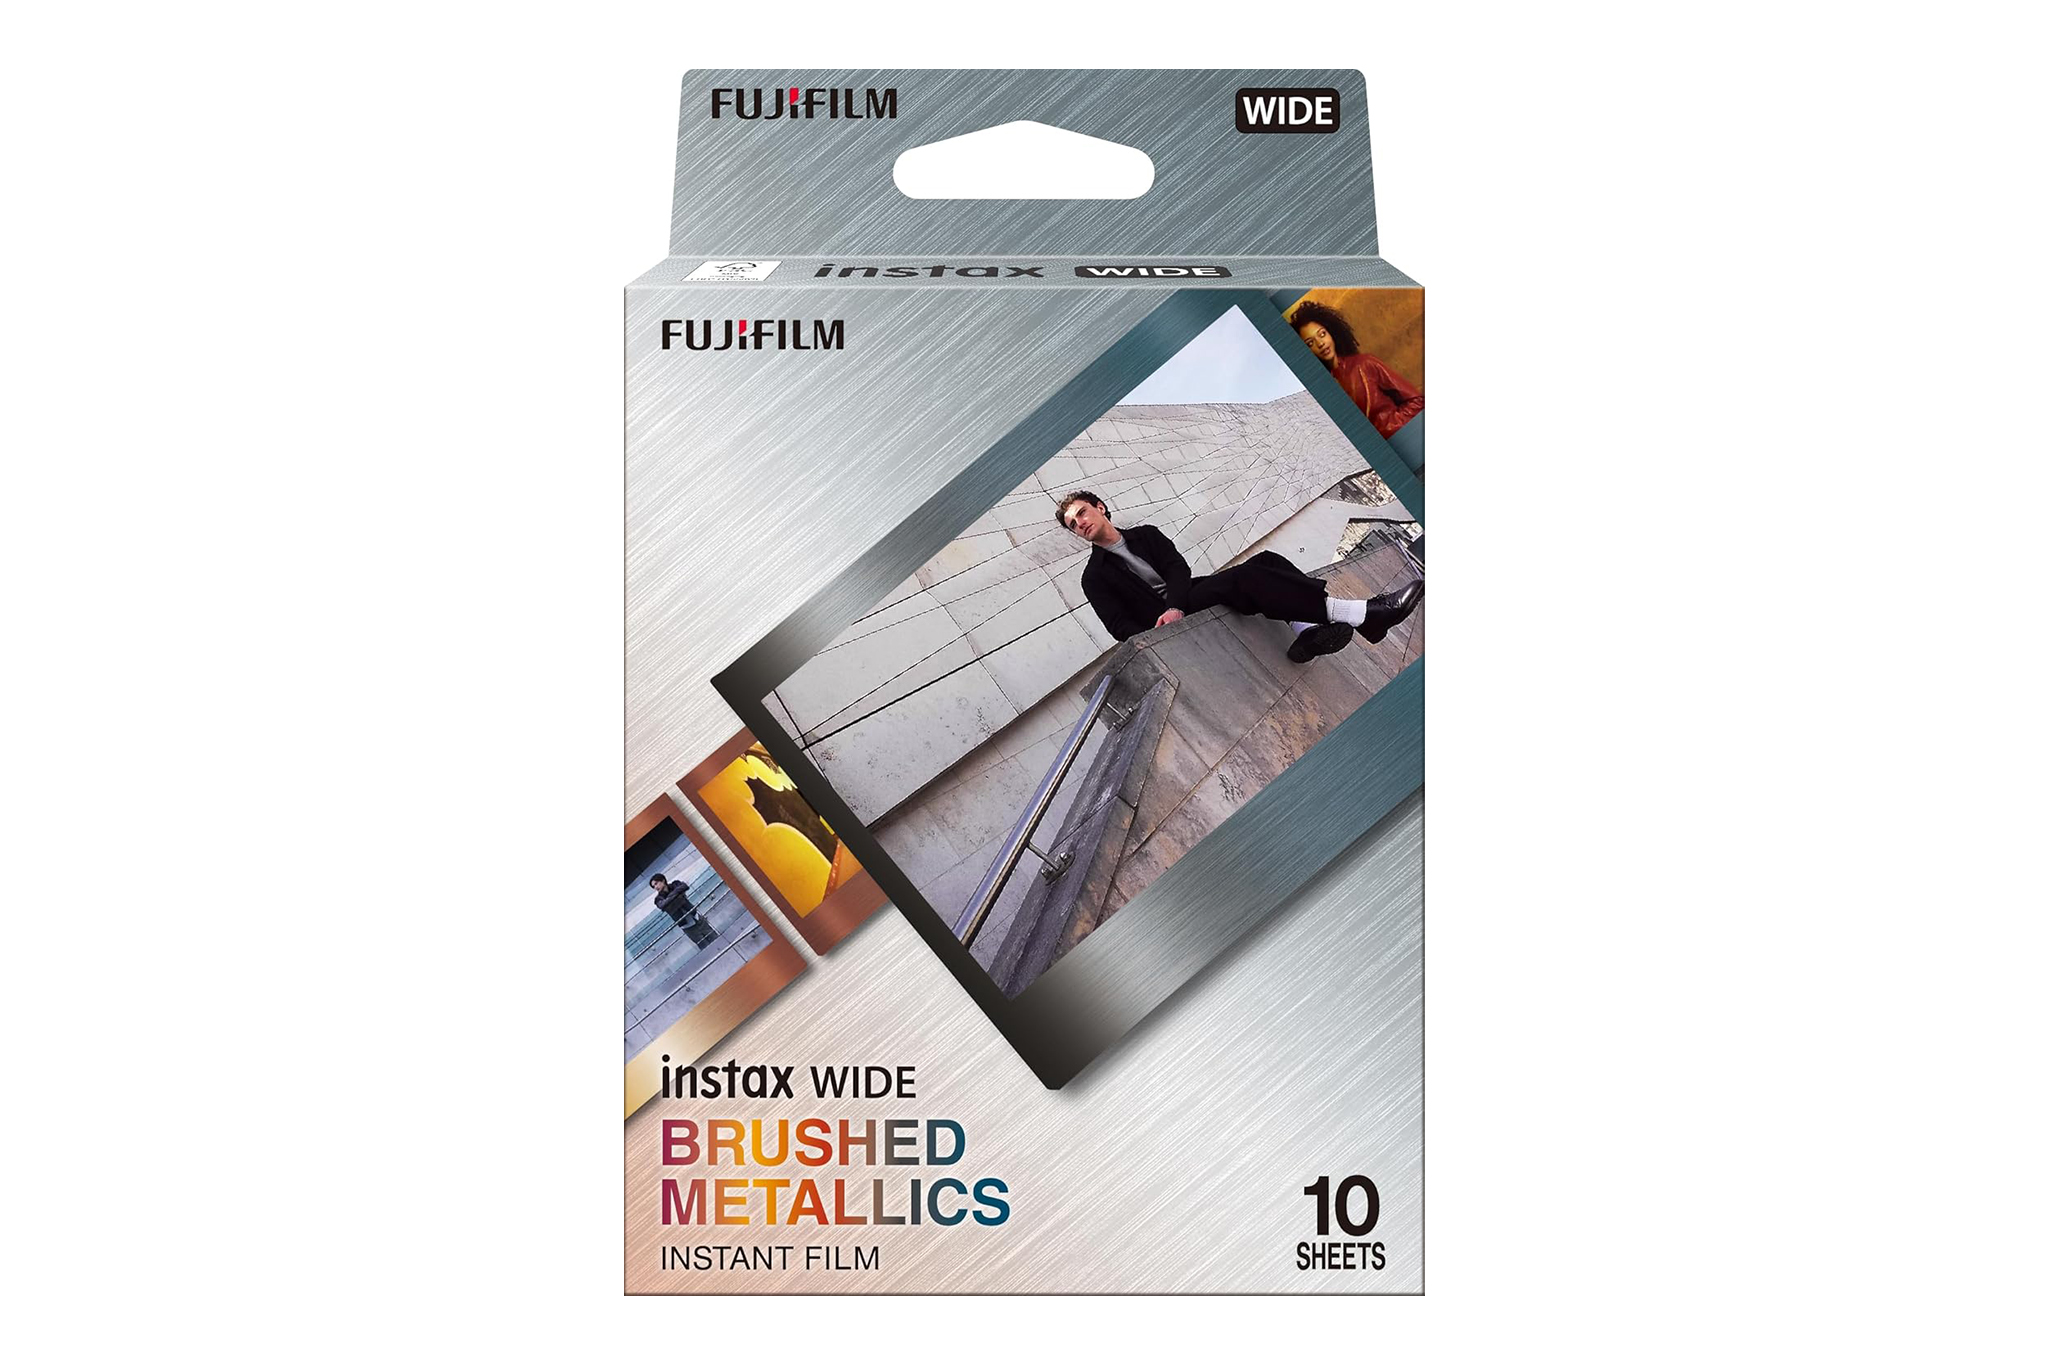
The Fujifilm Instax Wide 400 is an analog instant camera for the wide Instax Wide format (Instax Wide Film*). The body is functionally designed and offers straightforward handling without complex menus. With the right settings, portraits, landscapes, and group shots are a breeze.
Before first use, insert 4 AA batteries (eBay / Amazon*) into the battery compartment. Then load the instant film cartridge. Open the camera back by sliding the side latch. Insert the film cartridge so that the yellow mark on the cartridge aligns with the yellow mark inside the camera. After closing the back, the film compartment is secure. Do not open the back again until all 10 shots on the cartridge have been used.
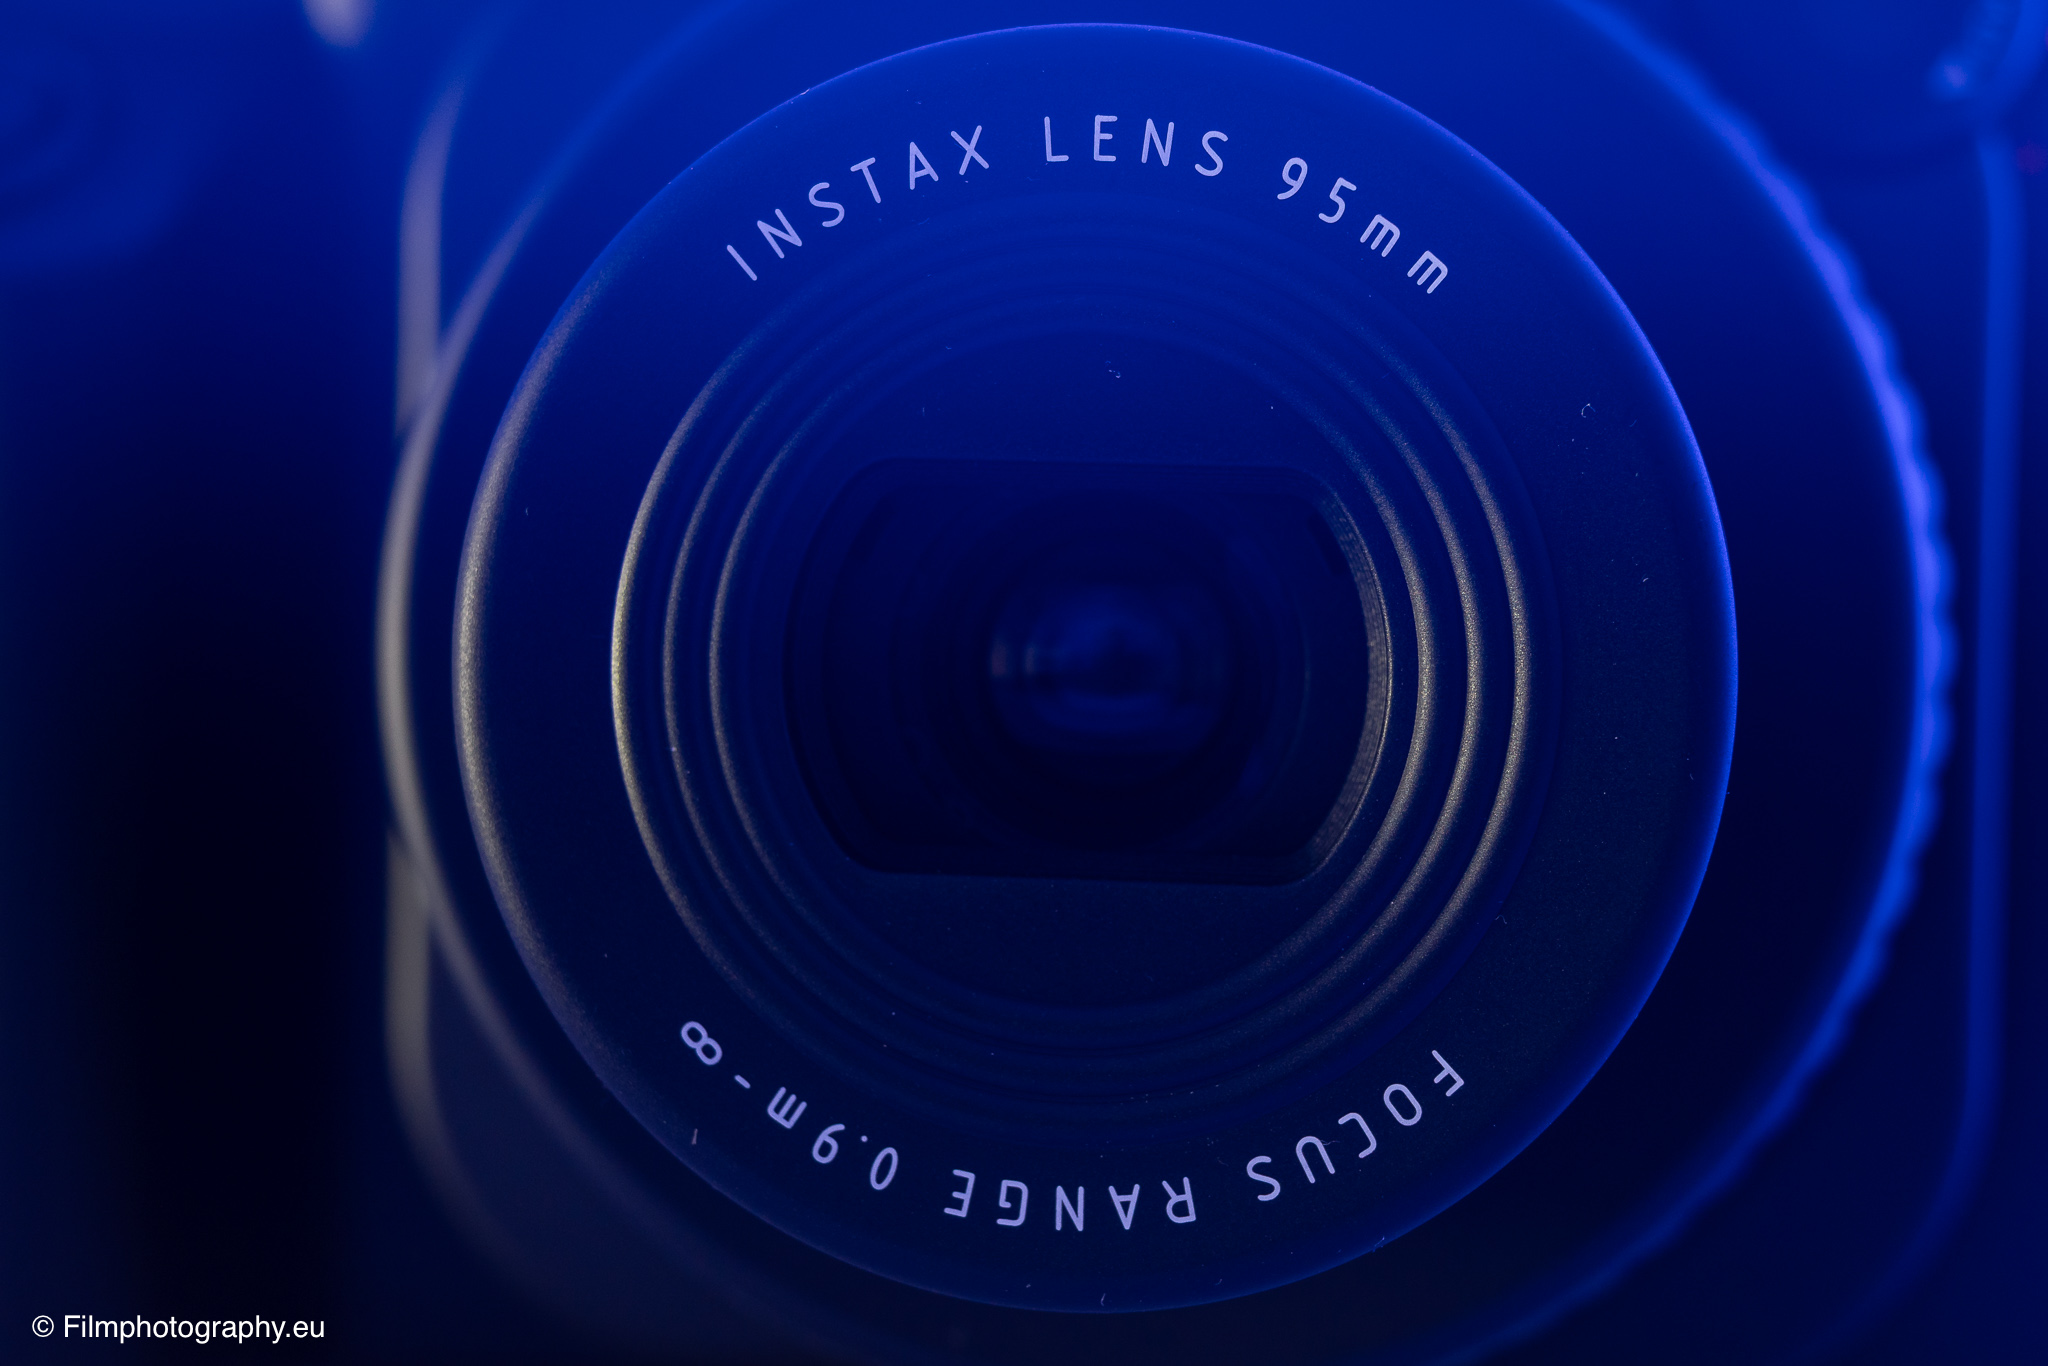
Turn on the camera by rotating the lens ring. The Instax Wide 400 offers two distance modes. The first position turns on the camera and sets focus for distances from 0.9 meters to 3 meters. This range is suitable for portraits and subjects at medium distance. Rotating further switches to landscape mode, designed for subjects from 3 meters to infinity. To turn off, rotate the ring back to its original position.
For close-ups, a close-up lens is included. This lens attaches to the front of the main lens and enables shots at distances from 0.4 to 0.9 meters. The lens also features a small mirror that helps with framing self-portraits. When looking through the optical viewfinder, note the parallax compensation for close subjects, as the viewfinder is slightly offset from the lens.
After inserting a new film cartridge, press the shutter button once to eject the black protective cover. The frame counter on the back will then show the number 10. Once the cover is ejected, the camera is ready for the first photo. After pressing the shutter, the photo is automatically ejected from the top slot. The development time is about 90 seconds.
On the front of the camera, there is a lever for the self-timer. By pressing the lever multiple times, you can select a delay of 4, 6, 8, or 10 seconds. A small light on the front indicates the countdown.
For support on flat surfaces, the included angle adjustment accessory can be attached under the camera. This allows you to adjust the shooting angle without using a tripod.