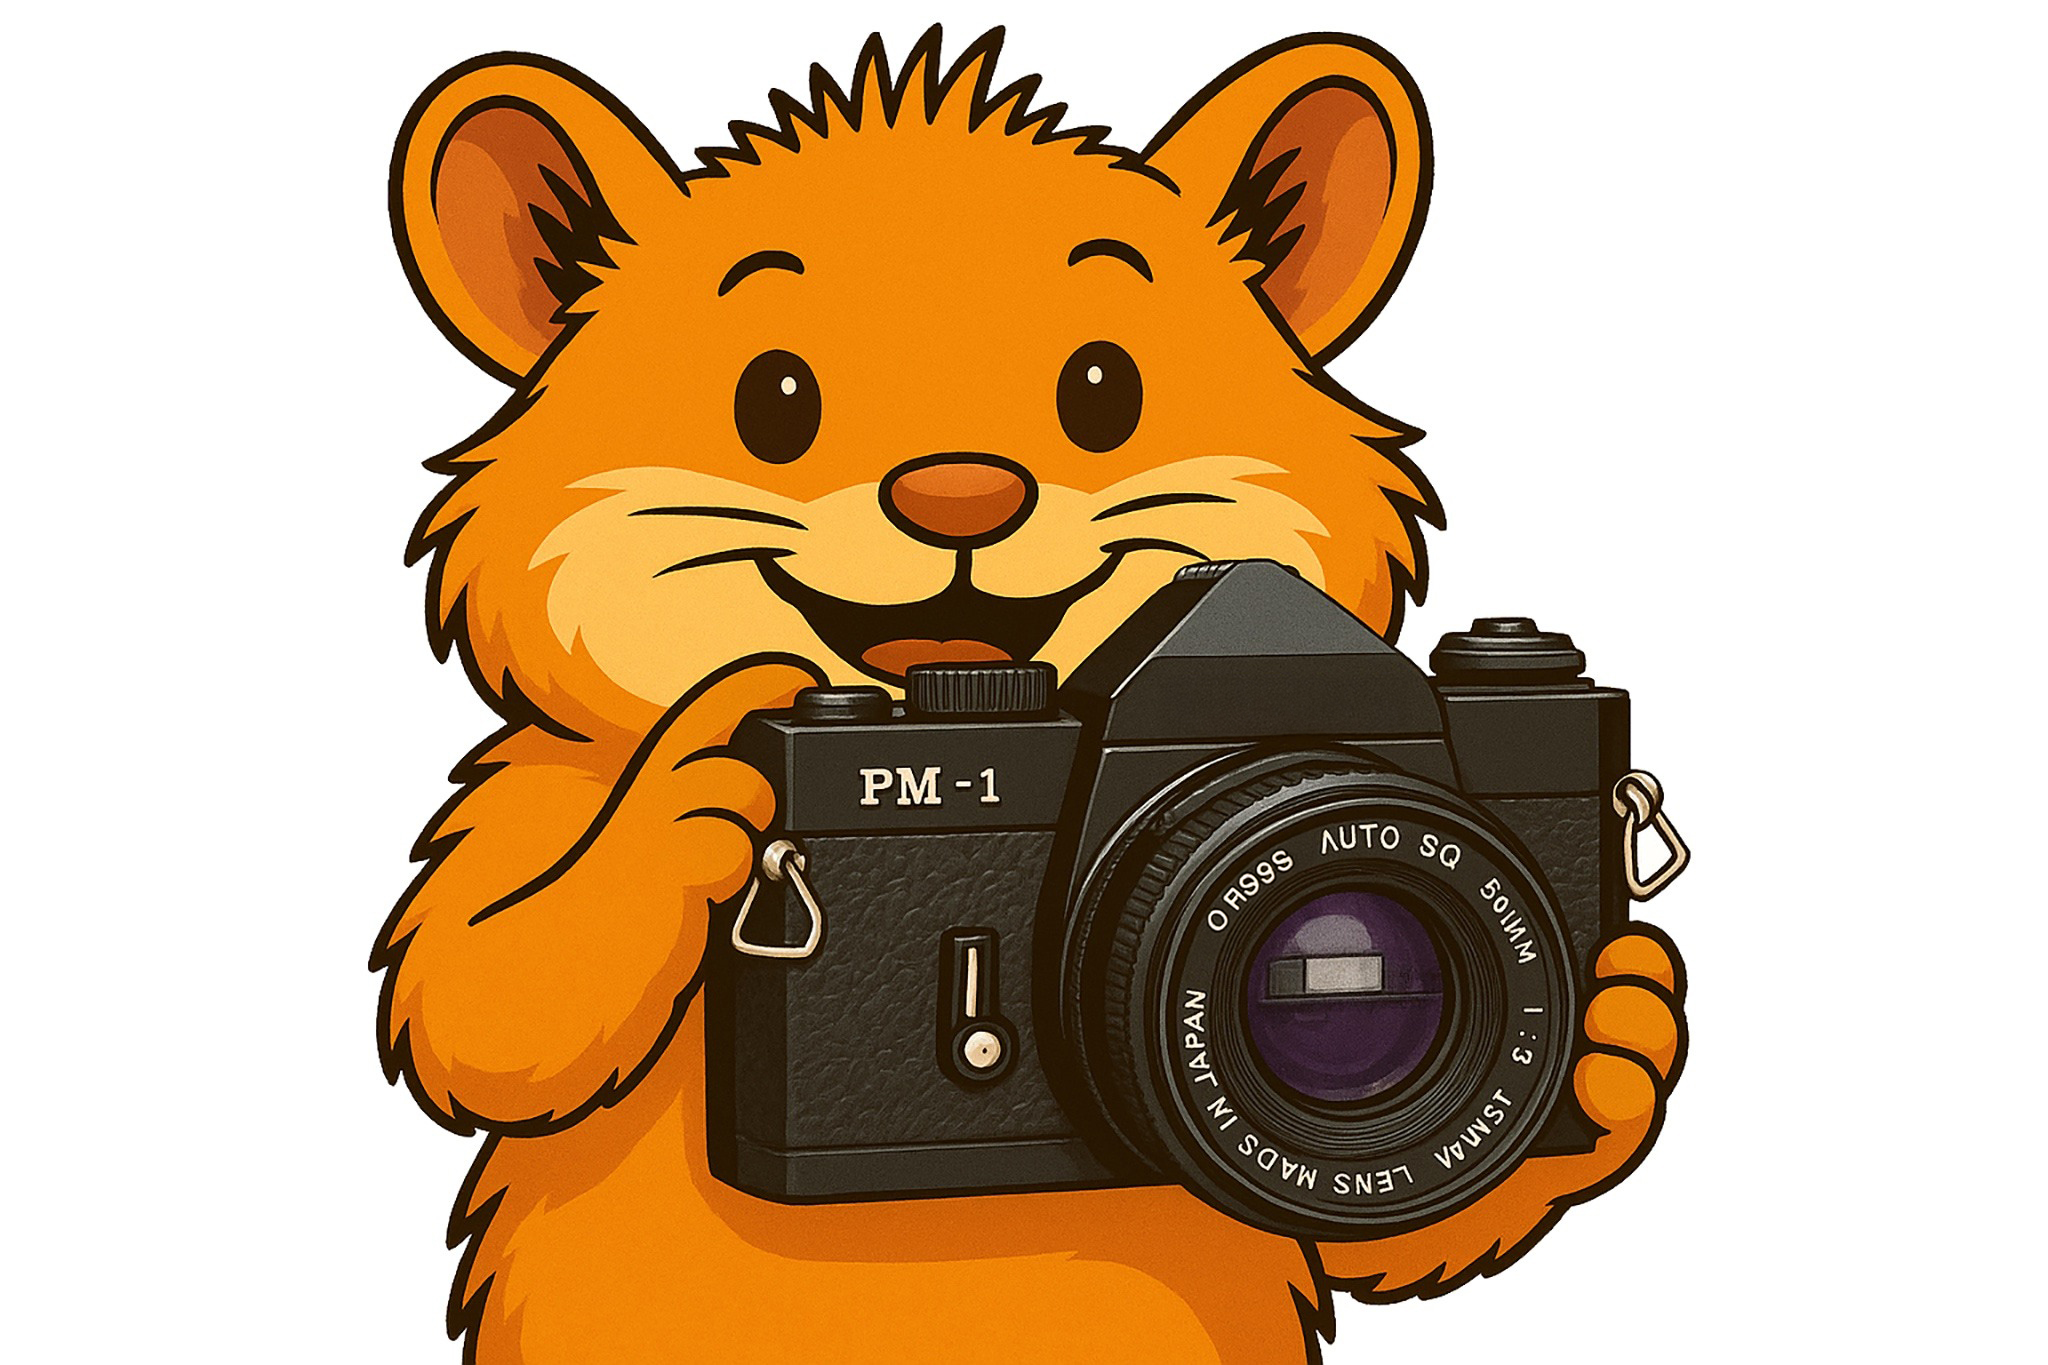
An analog SLR camera like the Mamiya ZM Quartz combines classic mechanics with precise electronics. To ensure smooth automatic exposure metering and precise film transport, some basic handling steps are required when using the camera. The following extended guide takes you through all steps in detail – from preparing the power supply and correctly loading the film to actually taking photos and rewinding the film afterwards.
Extended Step-by-Step Operation
Step 1: Insert and Check Batteries
The camera requires electrical power for the shutter and exposure metering.
- Open the battery compartment: Slide the small latch of the battery compartment on the bottom of the camera in the direction of the arrow. The battery compartment pops out slightly and can be removed.
- Insert batteries: Place two 1.5V button cells (type LR44 or SR44) into the holder. Make sure the positive pole (+) of both batteries points upward.
- Close the compartment: Insert the holder back into the camera and press it down until it clicks into place.
- Turn on the camera: Turn the main switch on the top to the "ON" position. If you do not use the camera for an extended period, set the switch to "OFF" to prevent unintentional battery discharge.
Step 2: Load the Film
Loading the film should ideally be done in the shade or at least not in direct, glaring sunlight.
- Open the camera back: Pull the rewind knob on the top left of the camera firmly upward until the back pops open.
- Insert the film cartridge: Place the film cartridge into the left chamber. Press the rewind knob all the way down so that the spindle engages the cartridge and secures it.
- Thread the film: Carefully pull the film strip to the right and insert the film tip into one of the slots of the black take-up spool.
- Check film transport: Gently operate the film advance lever once. Ensure that the teeth of the transport sprocket engage cleanly with the perforation (holes on the edge) of the film.
- Close the back and advance: Close the back firmly until it clicks. Now alternately operate the film advance lever and the shutter release until the mechanical frame counter on top shows the number "1".
- Tip: During the first advance, check whether the rewind knob on the left rotates when you operate the advance lever. If so, the film is advancing properly.
Step 3: Set Film Speed
For the exposure automation to know the sensitivity of the loaded film, the ISO value (formerly ASA) must be set manually.
- Operate the setting dial: Slightly lift the outer knurled ring of the left setting dial (under the rewind crank).
- Adjust the value: Turn the ring until the ISO number of your film (e.g., 100, 200, or 400) appears in the small display window. Let the ring snap back into place.
- Check: Ensure that the exposure compensation dial remains at the "0" position.
Step 4: Choose Exposure Mode and Aperture
For beginners, the camera's straightforward aperture-priority mode is recommended.
- Set the mode: Turn the shutter speed dial on the top right to the "A" (Auto) position.
- Choose aperture on the lens: Select the desired value using the aperture ring on the lens. As a guide, in bright sunshine, aperture 8 or 11 is suitable; in cloudy conditions, aperture 4 or 5.6.
- Activate metering: Lightly press the shutter release (halfway). A red LED next to the shutter speed will light up in the viewfinder, indicating the speed the camera electronics have automatically determined for your subject.
Step 5: Focus and Compose
- Aim at the subject: Look through the viewfinder and choose your composition.
- Focus: Turn the front focusing ring of the lens. Use the focusing aids in the center of the viewfinder:
- Split-image rangefinder: When the subject is exactly in focus, the displaced lines in the inner circle align seamlessly.
- Microprism ring: The surrounding ring shimmers when out of focus and becomes clear and steady when focus is correct.
- Watch for camera shake: If the camera shows a very long exposure time in the viewfinder (e.g., below 1/30 second) or an audible warning sounds, the light is too weak for handheld shots. In this case, choose a larger aperture (smaller f-number) or use a tripod.
Step 6: Take the Picture
- Make the exposure: Hold the camera steady (press your elbows lightly against your body) and press the shutter release gently and evenly all the way down.
- Prepare the next shot: Pull the film advance lever all the way to the right to advance the film by one frame and cock the shutter for the next photo.
Step 7: Rewind and Remove the Film
When the film is fully exposed, the advance lever can no longer be moved. Do not force it further, as the film may tear.
- Activate the release: Press the small, recessed rewind button on the bottom of the camera. It will stay engaged after pressing.
- Flip out the crank: Flip out the small crank on the left rewind knob.
- Rewind: Turn the crank clockwise (in the direction of the arrow). You will initially feel slight resistance. As soon as the crank suddenly turns very easily without resistance, the film has detached from the take-up spool.
- Remove: Pull the rewind knob upward to open the back, and remove the film cartridge for development.