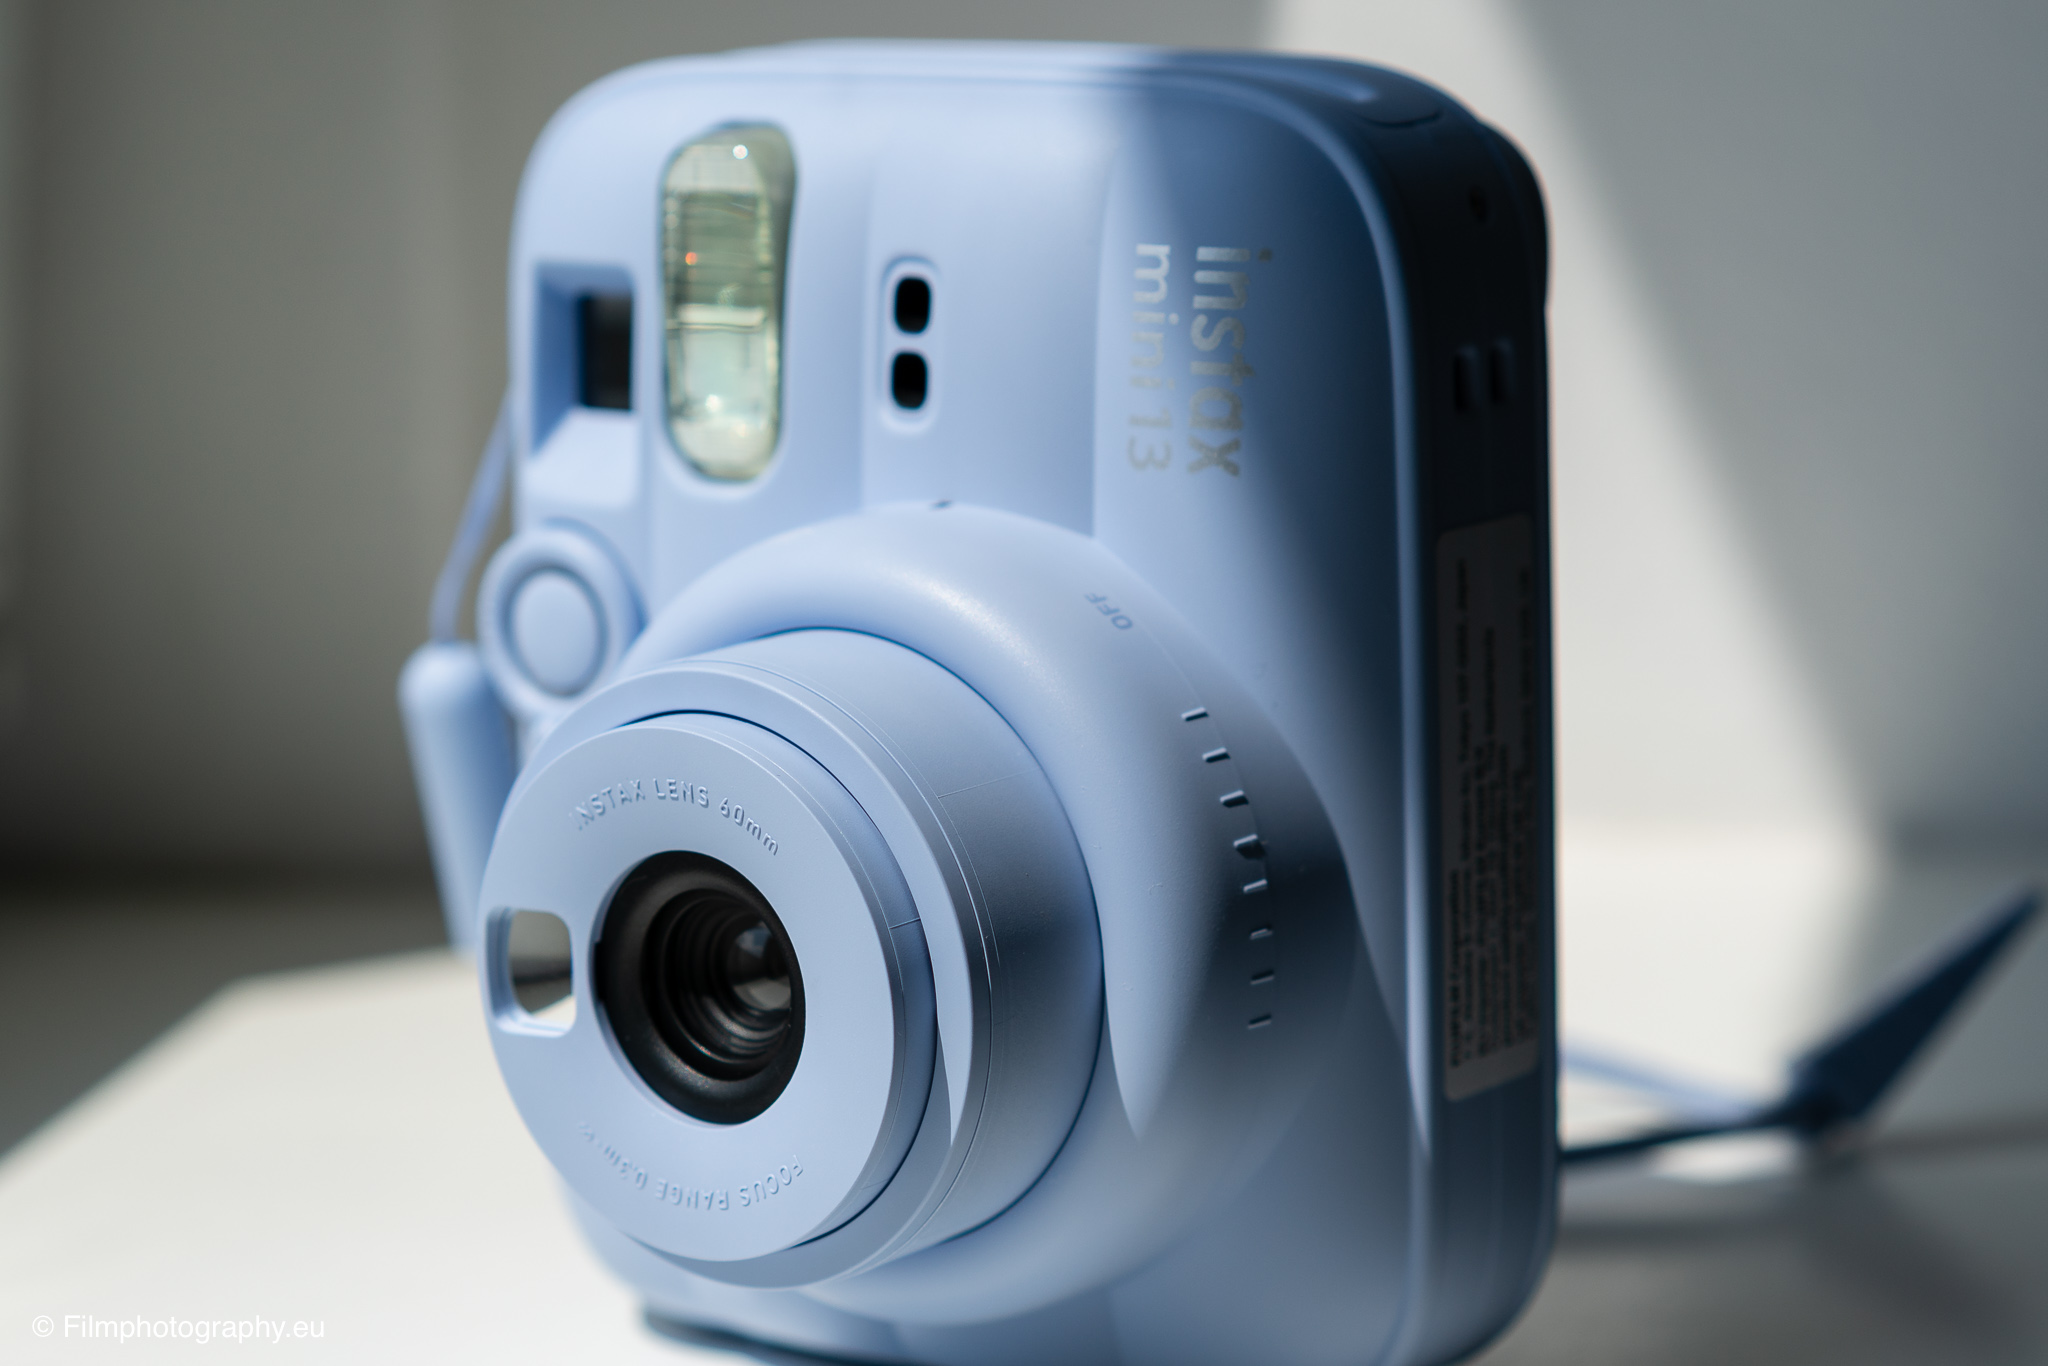
The Fujifilm Instax Mini 13 offers a direct entry into analog instant photography. Before use, the camera body requires little preparation. On the side there is the battery compartment for 2 AA batteries (eBay / Amazon*).
Then the rear flap is opened to insert the film cartridge (Instax Mini Film*). The yellow marking on the cartridge must align with the yellow marking inside the camera. After closing the cover, press the shutter button once. This ejects the black protective sheet of the film. The counter on the back then shows the number 10.
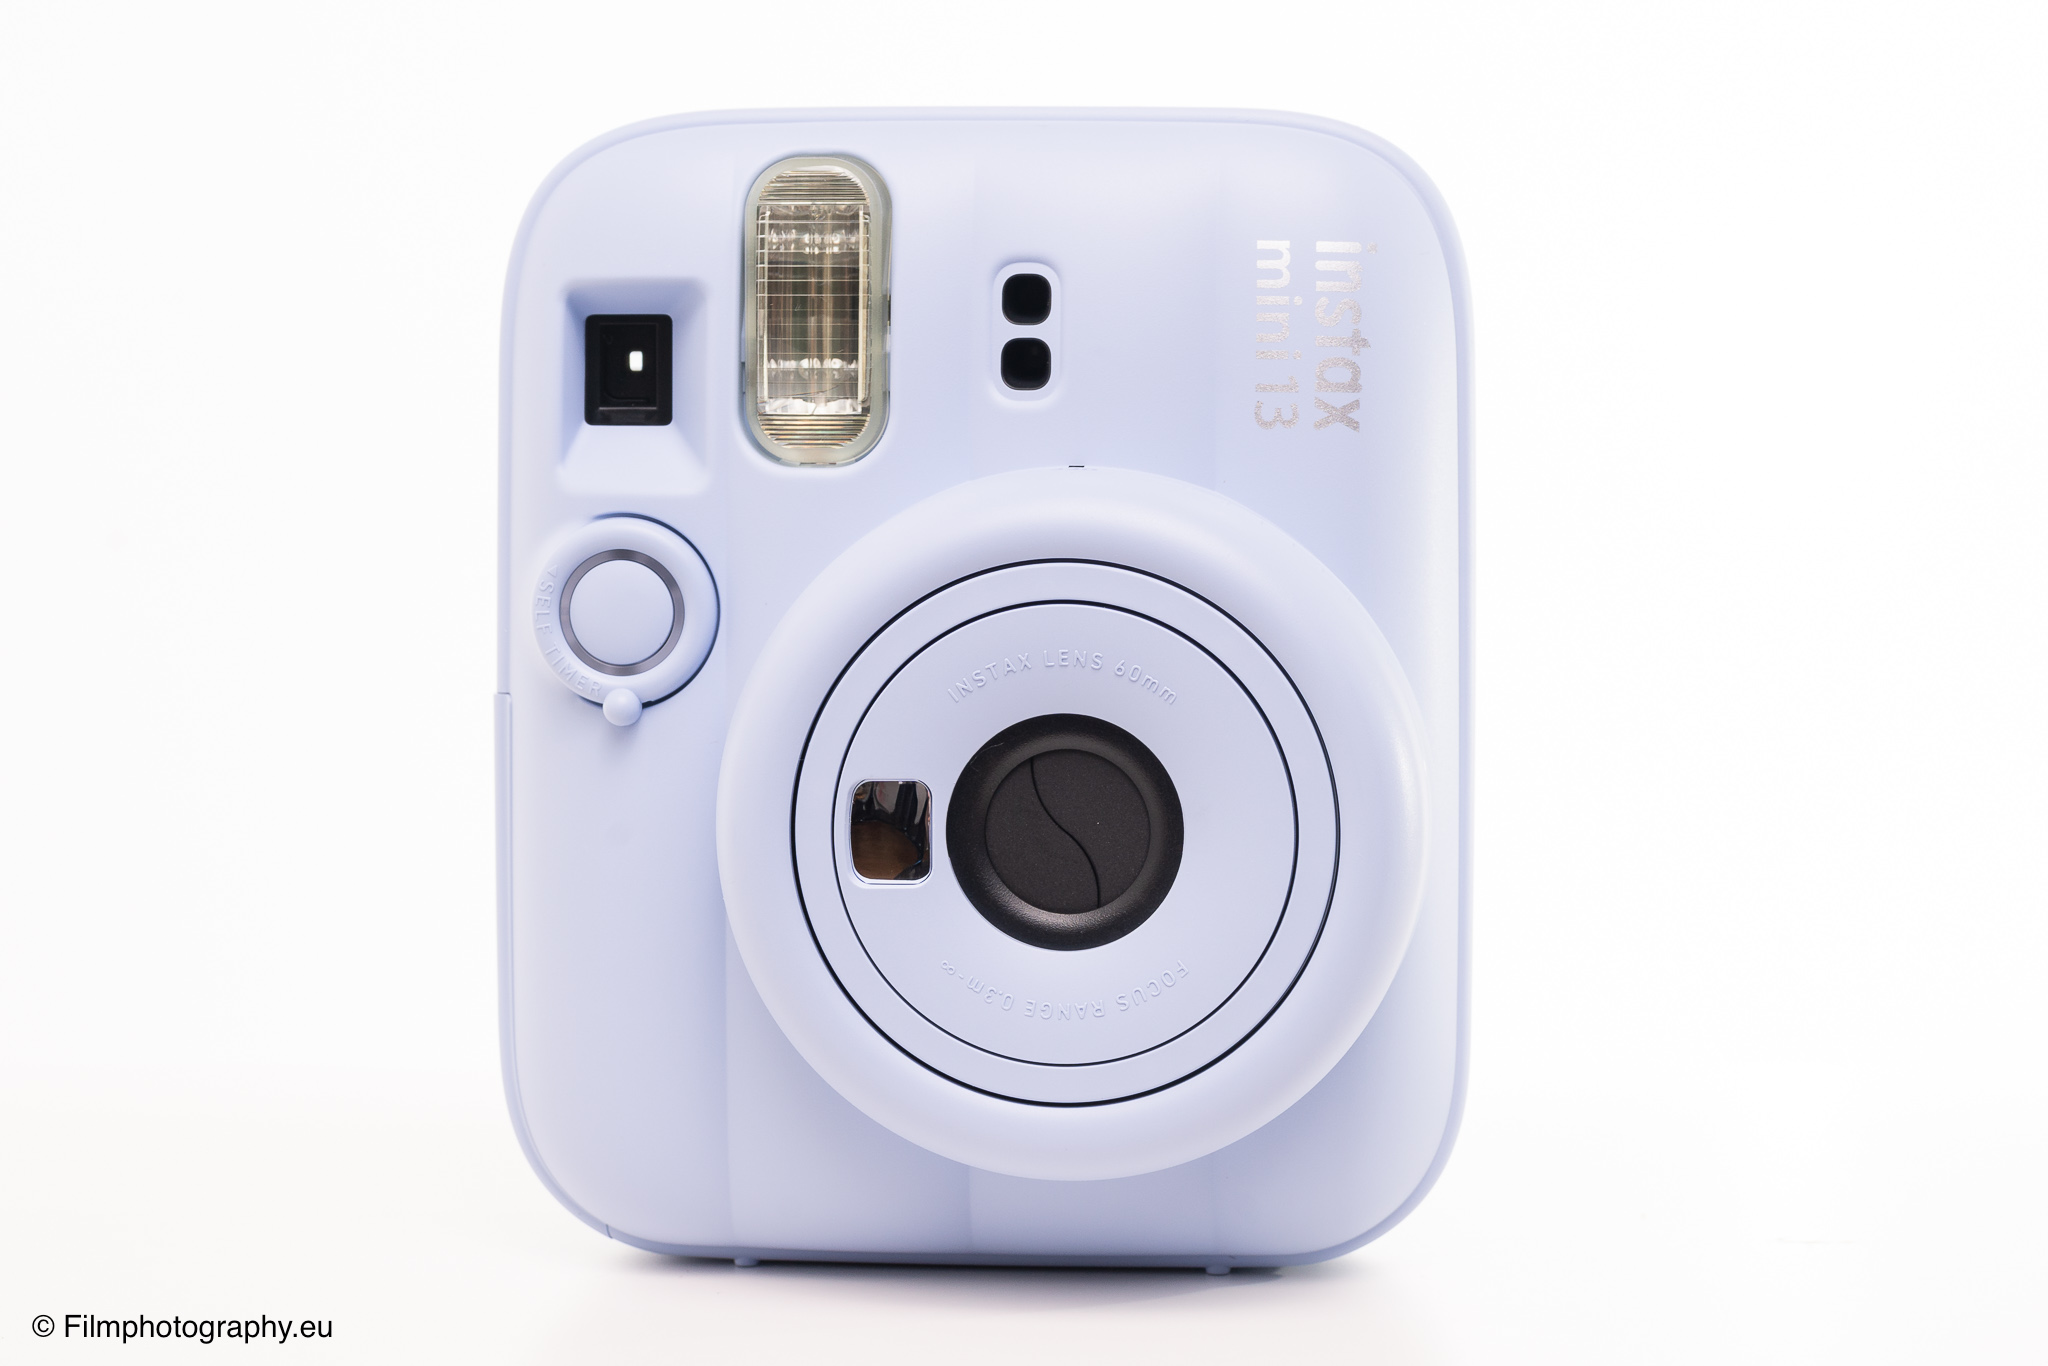
The camera is switched on by turning the lens. On the first turn, the device powers on and is in standard mode. This mode is suitable for subjects at a distance of at least 0.5 meters. If the lens is turned one more stop, close-up mode is activated. This mode is intended for distances between 0.3 meters and 0.5 meters.
An automatic exposure control adjusts the shutter speed and flash to the ambient light. Manual exposure settings are not required on this model.
When looking through the viewfinder in standard mode, the image section largely corresponds to the later photo. In close-up mode, the integrated parallax correction compensates for the offset between the viewfinder and the lens. The subject appears in the viewfinder exactly where it will later be printed on the paper image.
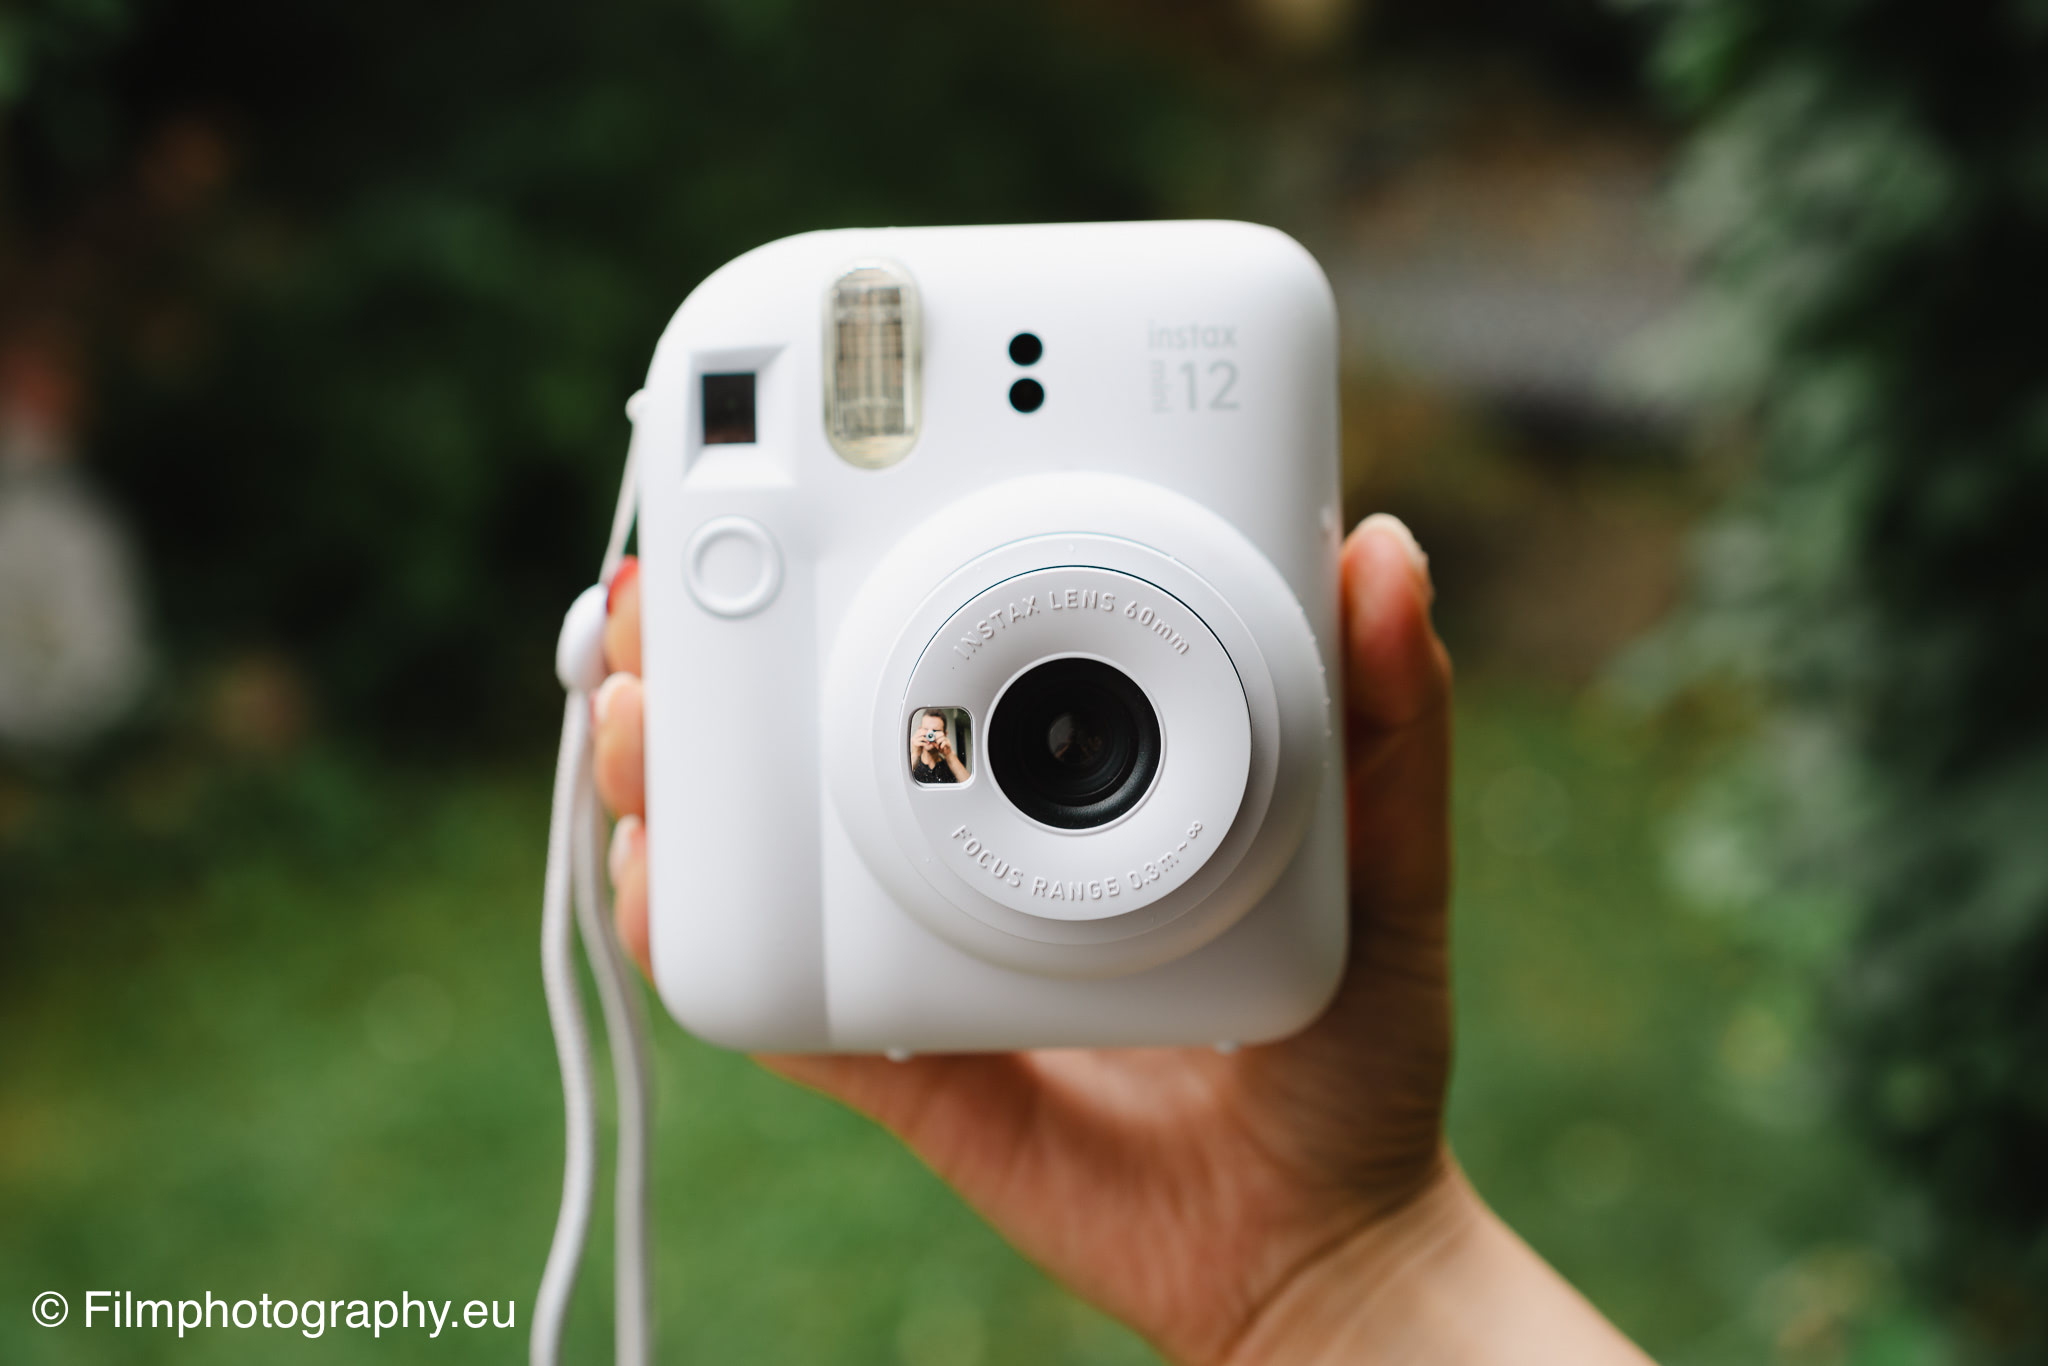
For self-portraits, a small mirror is located directly next to the lens. With the help of this mirror, you can check the framing before releasing the shutter.
A useful feature of this model is the built-in self-timer. Using the corresponding button, you can select a delay of 2 seconds or 10 seconds. This makes self-portraits and group shots easier.
The scope of delivery also includes a small component for adjusting the camera angle. This component can be attached under the camera body to align the camera on level surfaces.
After pressing the shutter release, the image is transported out of the top of the camera. The chemical development of the photo takes about 90 seconds. During this time, the photo should lie flat and not be shaken. Movement can negatively affect the chemical development. Once the display reaches 0, the film is used up and the cartridge can be removed.